Hi everyone. It's time for another DIY (here's last month's with links to past DIYs), using items from my latest Eco Emi box (below is a photo of what I had to work with this time), and since I took so long to do one, I actually have two. Both are hair accessories inspired by a guilty pleasure of mine, a show called "Made in Chelsea."
Yes, I just admitted that this nearly 37-year-old likes to watch a reality show about a bunch of 20-somethings. I find it entertaining, and I like their style, as you can see represented in today's projects (okay, maybe it's not quite their style, but you'll get the idea). Both resemble items for sale on Amber Atherton's (a girl from the show) My Flash Trash online jewelry boutique.
First up is the current "Celeb Pick" from the site, a floral headband known as the Wine Whole Lotta Rosie Headband (obviously, it is covered in roses, but Rosie also happens to be the name of Amber's friend on the show). I made my own version of it, using the tissue paper and decorative shreds from this month's Eco Emi box, along with an old headband, some baby hair ties and a glue gun.
To start, I braided some of the decorative paper shreds. I needed to make two braids to cover the length of the headband.
I set the braids aside while I made some tissue paper flowers, much like I did in this past DIY. I cut strips of the tissue paper and then cut those into rectangles.
I cut the small rectangles into tear drop and heart-shaped "petals."
Once I had enough "petals," I began to form the flowers, starting with three tear drop shapes, one in a dark purple and the other two in burgundy.
Then, I wrapped two heart-shaped dark purple "petals" around the center part.
I continued to build up heart-shaped burgundy petals to create a full flower ...
... and secured the ends with a baby hair tie (this will come in handy for attaching the finished flowers to your headband).
Repeat these steps to make more flowers; five to seven should be sufficient for decorating your headband.
Time to add all the embellishments to your headband. Start by using a glue gun to adhere the braided decorative paper shreds. Two braids should be exactly enough to cover the length of your headband.
You could leave your headband as is at this point or add the flowers.
I used the hair ties at the base of the flowers to attach them to the headband.
Here's what I look like wearing it (along with the Purely You berry red lip gloss from this month's Eco Emi).
Next up is a simple pastel bow, similar to the sparking ones on Amber's site. All that's needed is the purple sheer fabric pouch from this past month's Eco Emi box and a hair clip, as shown.
Start by removing the ribbons from the fabric pouch.
Fold the top third of the bag inside itself.
Do the same with the bottom third to create a small rectangle. Set aside.
Tie each ribbon to the clip, as you can see in this pic.
Pinch the center of the fabric rectangle to form a bow and attach it to the clip by wrapping the ribbons up around it and back down again.
Cross the ribbons through the open clip ...
... and tie them around the base. Cut off the excess ribbon.
Here's your finished bow.
I decided to try the bow on (without my Purely You lip gloss; I forgot to reapply it after lunch), but I think I'm a little old for it.
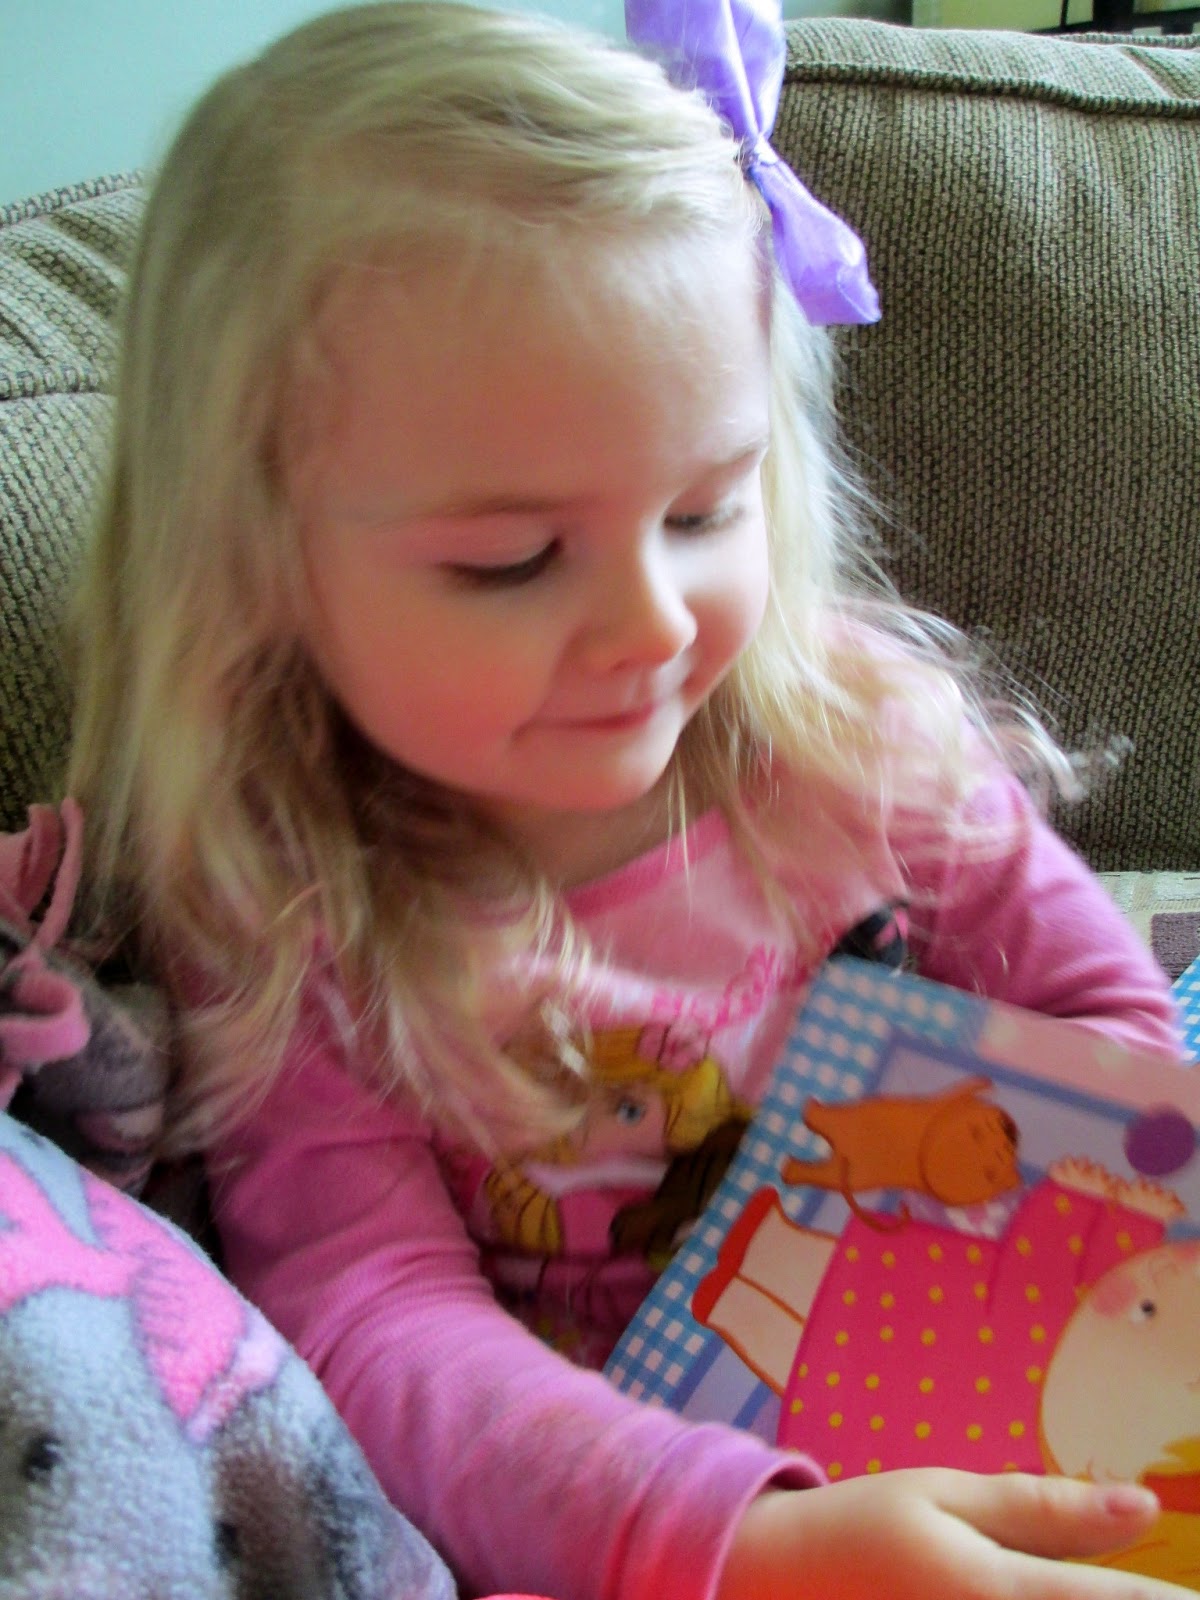
It looks perfect of Hayden, though :-)
Anyway, this post is getting rather lengthy. I'm thinking about making a stain glass effect out of the scrap tissue paper on the window of the metal box from this month's Eco Emi. Hopefully, I'll let you know if I get around to it.